Sending Shopify Orders to Clover POS – Stock Update
Sending Shopify Orders to Clover POS – Stock Update
Contents
How to send Shopify orders to your Clover POS and update stock
# Create Shopify orders in your Clover POS – Two Way Inventory Sync.
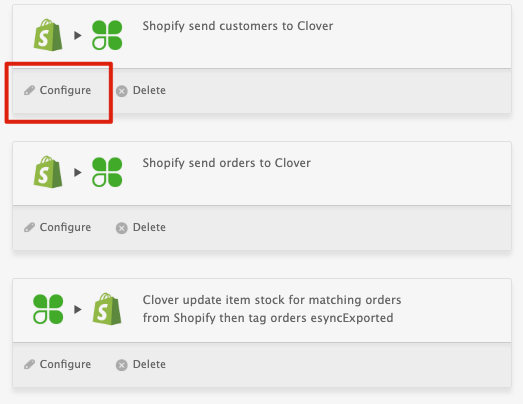
To send Shopify orders to your Clover POS you will need to configure three Actions and then add all three Actions together into a single Task. The Task is used to RUN actions in your task on demand or to schedule your Actions via a 5-minute or greater interval. Once the order is inserted into Clover the Action to Adjust Stock for Matching orders in Clover will then update your Clover inventory for the Shopify order and line items.
Note: “The basic Shopify plan does not include PII (Personal Identifiable Information).” You must be on one of the higher plans to sync customer data to your CRM.
Configure Each Action
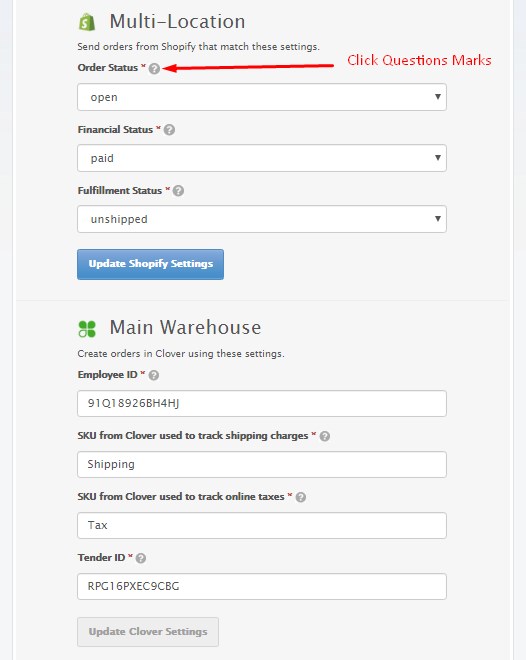
Click the Question Marks to learn how to configure your Action.
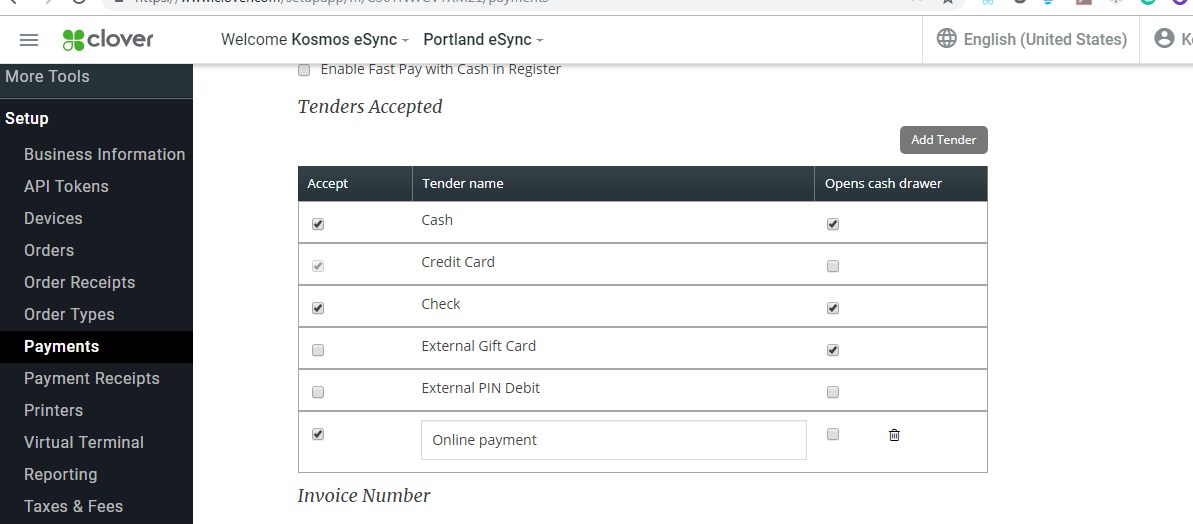
Adding a new or ‘Online Payment’ type.
Login to your Clover Web Portal, select Setup in the left menu and click Payments
Select the Add Tender button
In the new field enter Online payment for the tender name, make sure the Accepted check box is selected, and scroll down to click the Save button at the bottom of the screen.
Once the new tender type has been added to your account you can locate the Tender ID by logging into your Clover Web Portal and entering the following URL in your browser. Replace {my-account} with the merchant number for your Clover account.
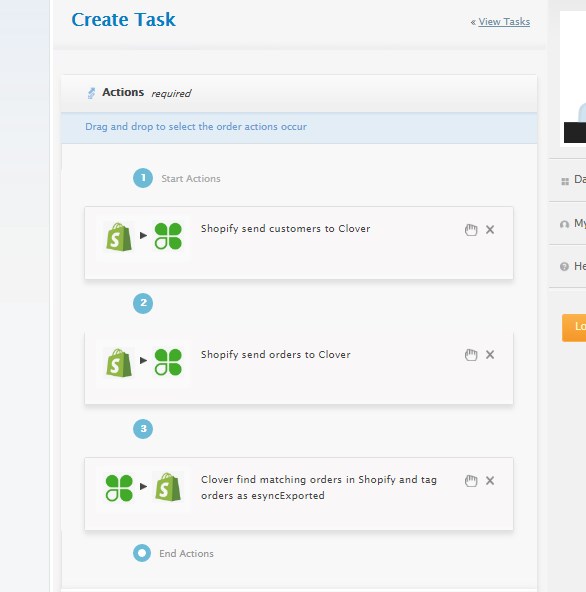
Next Actions must be adding in sequence into your TASK.
Shopify Send Customers to CloverIf the customer does not exist, eSync will create the Shopify customer in your POS.
Shopify Send Orders to CloverThis will generate the Shopify order inside your Clover POS.
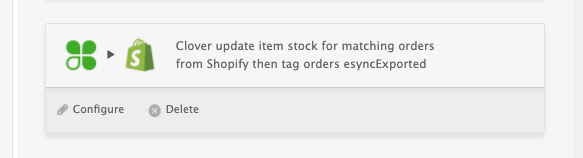
Clover find matching orders in Shopify and tag order as esyncExported This tag for ShopifyThe tag is needed to update Shopify and to avoid sending the order back to Clover and creating duplicate orders in your POS.See Example with all 3 Actions in the TASK
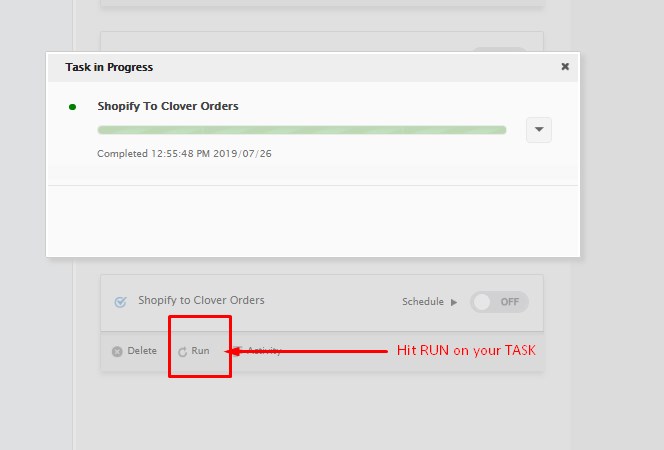
Now hit SAVE on your TASK and hit RUN to test.
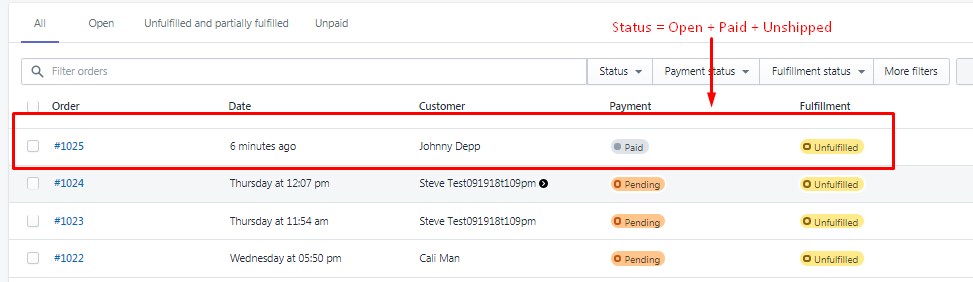
Open + Paid + Unshipped Orders (based on configuration) will be downloaded
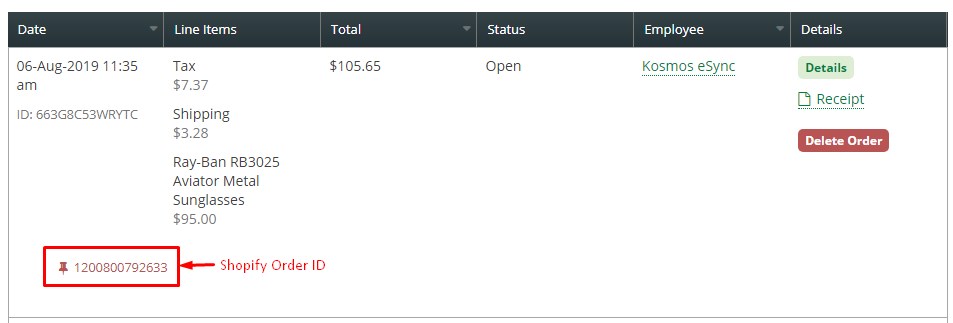
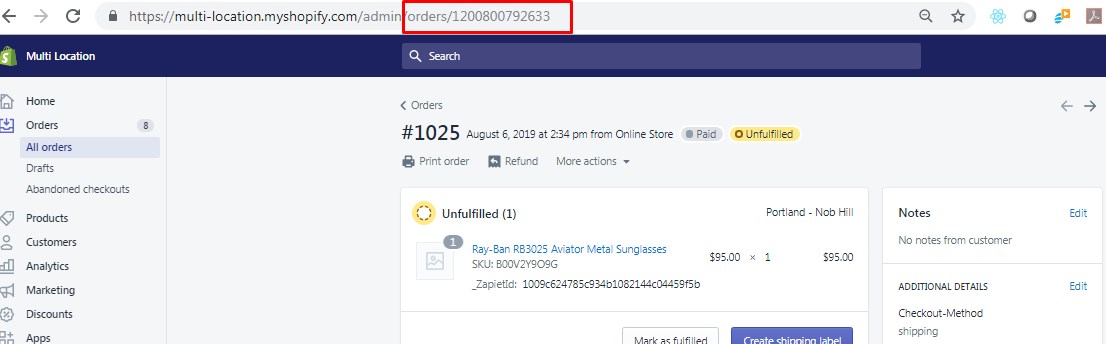
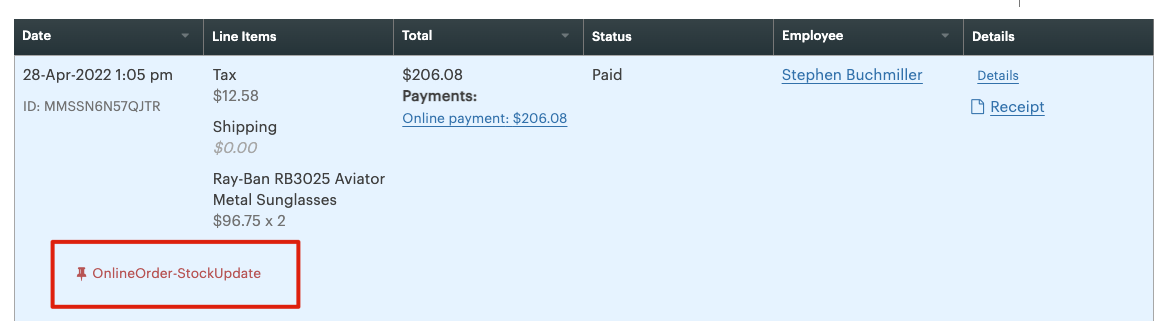
Locate the Shopify order in the Clover POS with the Shopify Order ID
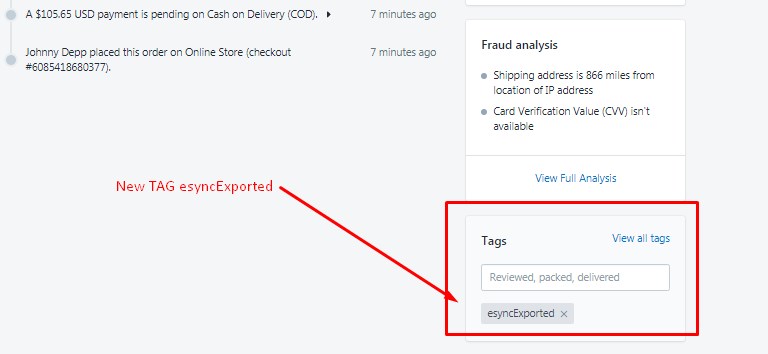
To prevent duplicates and the order from downloading again into the POS the TAG must be updated.
Now Locate the TAG ‘esyncExported’ for your Shopify order.
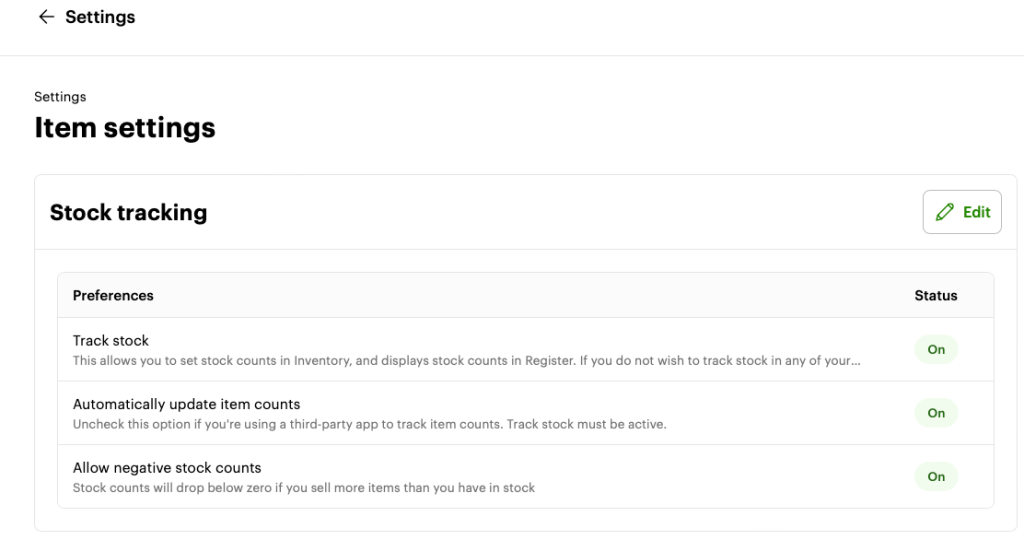
Note two way inventory sync requires orders sync and item stock update based on Shopify orders created in Clover.
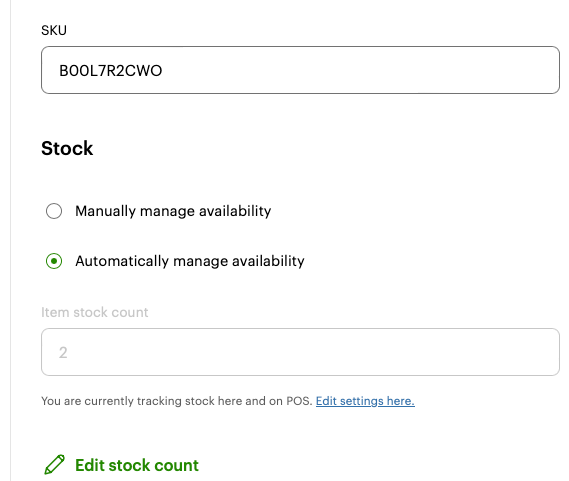
Action name: Clover adjust item stock to match orders from Shopify, then tags orders as esyncExported. This action should only be used if you have all Clover items set to ‘Automatically Manage Stock’, found next to your inventory area.
Order Notification – Online Order: StockUpdate
# Do you have a flat rate tax for Clover orders and need this to match for online orders and Clover reporting purposes?
If you have further questions, please post a ticket in our Help Desk and submit the full Activity Log located right next to your Task RUN button with the ticket.
If you’d like to purchase support hours support package, you can do so here.